Installation Guide

PDF's
For Download:
1. Understanding Skylight Sizes
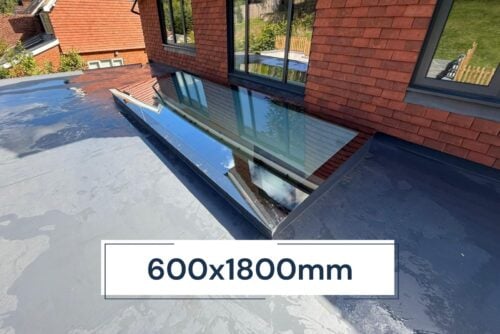
All Rooflight Factory skylights are listed by their internal glass size (the bottom panel).
The top panel is stepped outwards by 100 mm on every side, meaning:
✔ The external visible size is always 200 mm larger than the size you purchase.
For example:
| Quoted Skylight Size | External Top Glass Size | Overall Visible Size |
|---|---|---|
| 600 × 600 mm | 800 × 800 mm | 200 mm bigger each way |
| 800 × 1200 mm | 1000 × 1400 mm | 200 mm bigger each way |
| 1000 × 2000 mm | 1200 × 2200 mm | 200 mm bigger each way |
This stepped design allows water to drain off the glass and provides a clean, frameless look once installed.
2. Structural Opening (Created by Your Builder)
The opening in your roof (upstand-to-upstand internal size) must always be:
✔ 10 mm larger than the skylight size
This allows for tolerances and easy positioning.
Example with our 600 × 600 mm skylight:
Your upstand opening must be 610 × 610 mm internally.
For a 1000 × 1500 mm skylight:
Your internal opening must be 1010 × 1510 mm.
Allow 5 mm tolerance on each side
This ensures the unit can sit correctly without pressure on the glass.
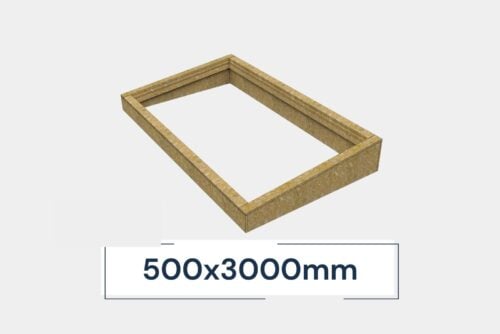
3. Upstand Requirements
The upstand is a small vertical frame built around the opening.
✔ Minimum upstand height: 150 mm above the finished roof level
This height is required by building regulations for weather protection and drainage.
✔ Required pitch (slope): 6°–10° minimum
A slight slope prevents rainwater from pooling on the glass.
Guideline:
For every 1 metre of skylight length, you need 100 mm fall.
Even though glass is strong, it can flex slightly — a pitch ensures proper drainage.
Before sealing, always run a quick water test to confirm water runs off the glass correctly.
4. Skylight Support (Provided by Your Builder)
Inside the upstand, you must install a timber support frame where the skylight will rest.
✔ Use 25 × 50 mm timber (also known as 2” × 1”)
This timber forms the perimeter support for the skylight.
Support height:
- Triple-glazed skylight:
The timber support must sit 46 mm below the top of the upstand
This ensures the stepped glass sits perfectly flush and the overhang seals properly.
5. Weathering the Upstand
Before installing the skylight:
✔ Add your chosen roof covering
(e.g., EPDM, felt, GRP, asphalt, PVC membrane)
Cover:
- The external face
- The top surface of the upstand
Make sure the roof covering is fully bonded and watertight.
6. Preparing for Installation
To protect the glass and maintain your warranty:
✔ Clean all surfaces
Remove dust, debris, moisture, oils, and anything that may prevent the silicone from adhering.
✔ Apply foam rope on top of the timber support
This levels out minor imperfections and prevents stress on the laminated glass.
⚠ Skipping the foam rope voids the warranty.
7. Installing the Skylight
You will need suction cups to safely lift the unit.
Step-by-step:
Apply a generous bead of weather-proof silicone around the entire top edge of the upstand.
(One tube usually covers ~6 linear metres.)Lower the skylight carefully using suction cups.
Check that each cup is holding securely and the unit is level.Ensure the skylight rests evenly on the foam rope and timber support.
Apply a second bead of waterproof sealant under the stepped overhang to create a continuous watertight seal.
Smooth the sealant for a neat finish and full adhesion.
8. Final Checks
Before completing the job:
- Confirm the skylight is sitting flat and properly aligned
- Ensure there are no gaps in the sealant
- Perform a water test to make sure drainage is correct
- Clean off any excess silicone
Your skylight is now installed and ready for long-term use.
Need Specific Size Diagrams?
Each skylight size on our website includes
✔ size drawings
✔ upstand details
✔ fitting diagrams
If you need further help, contact our team — we’re happy to guide installers or offer support.